

Introduction:
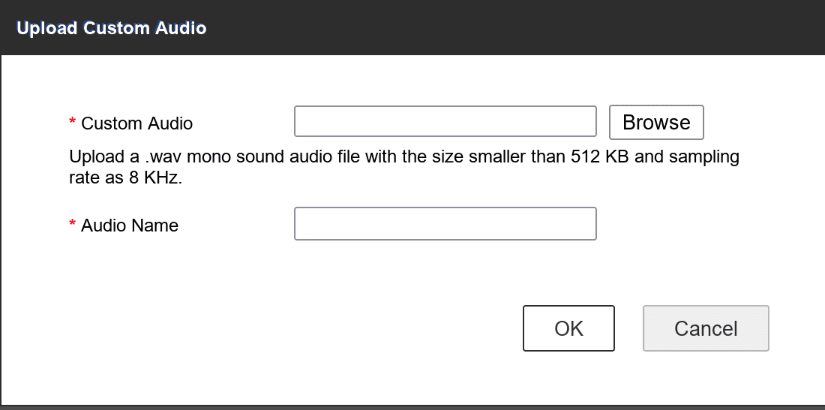
This guide will demonstrate how to create a custom alarm sound for Second generation AcuSense cameras that fulfills the requirement of being a .WAV formatted file with sampling rate as 8 KHz that actually plays correctly on the camera speaker. So if you are trying to upload a custom file to your Hikvision or Annke system and it doesn’t play right check this guide out for how to complete the requirement of “Upload[ing] a .wav mono sound audio file with the size smaller than 512 KB and sampling rate as 8 KHz.”
We will use open-source software throughout this guide.
Step 1: Install FFMPEG and Kdenlive
In terminal use the following commands:
- Windows: winget install –id=KDE.Kdenlive -e && winget install –id=Gyan.FFmpeg -e
- Linux: sudo pacman -S ffmpeg kdenlive –noconfirm
Step 2: Create your custom audio file in Kdenlive
Open KDEnlive and right click on the default track list and select Delete Track
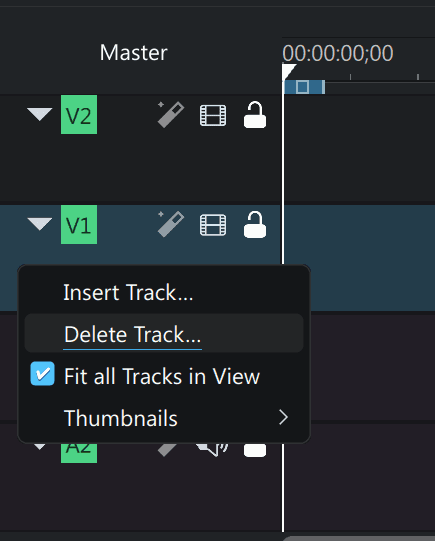
Delete all tracks but A1 (Audio 1)

Drag and drop into A1 any audio that you would like to use, make your edits, then render the project:
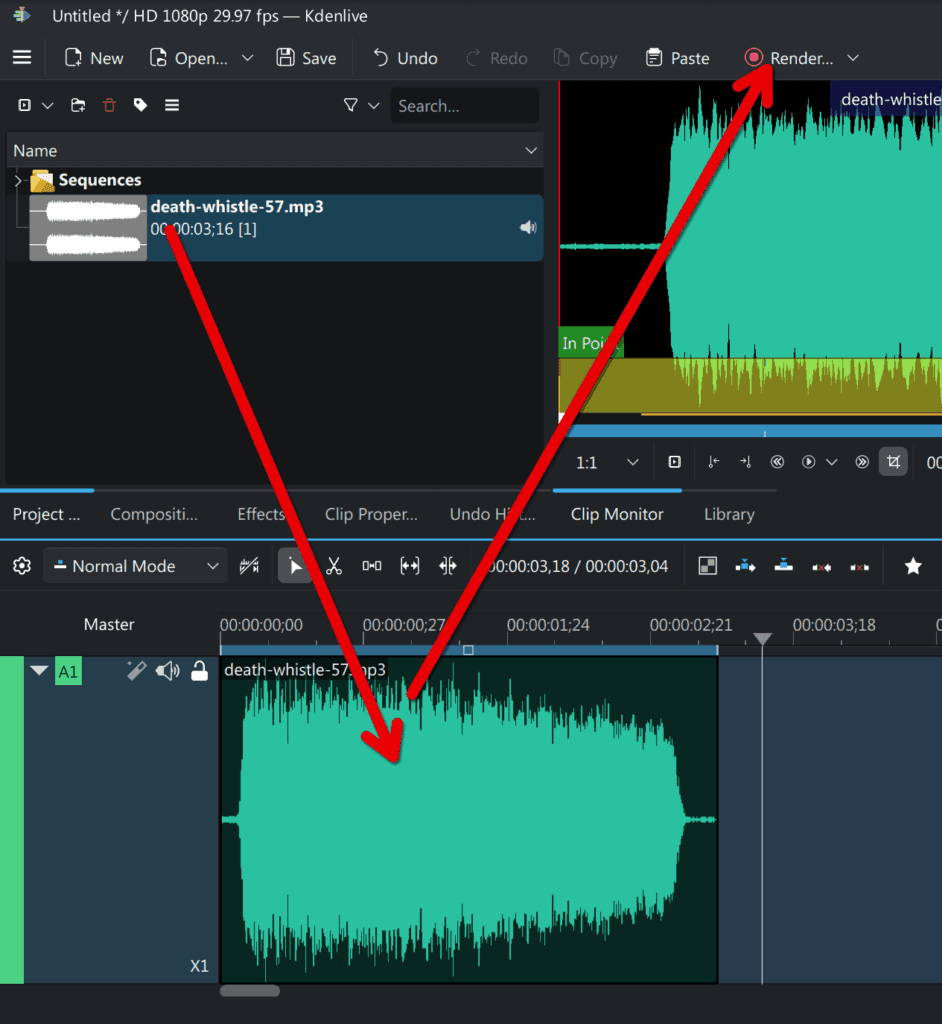
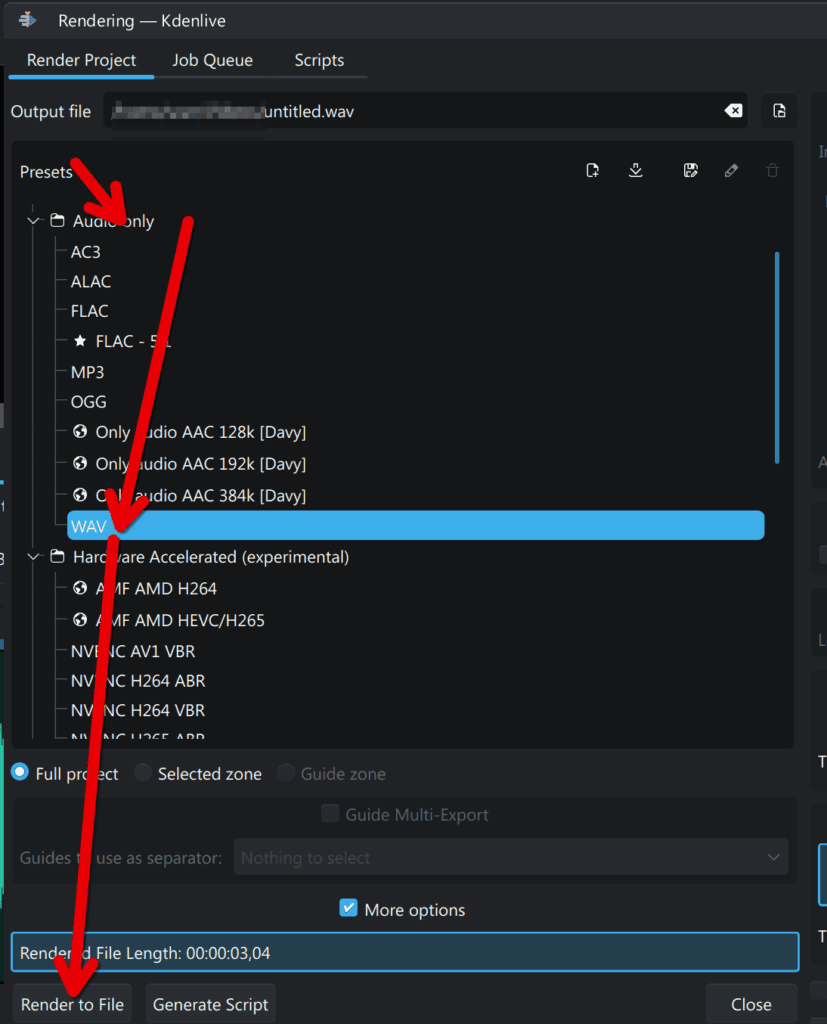
Then render the project as WAV
Step 3: Use FFMPEG to convert to appropriate format
I tried a number of editors and settings but was unable to create a sound that played correctly on the camera. They would play too fast or too slow and often had static. As consequence I found solution in converting the file via ffmpeg to required specifications.
The ffmpeg command is as follows:
For 8kHz mono 16-bit WAV:
ffmpeg -i input_file -ar 8000 -ac 1 -acodec pcm_s16le output.wavThis should actually support any media format and is not limited to .WAV. So if you already have a sound you want to use that’s ready as a .mp3 or some type of video file you should be able to forego steps 1 and 2.
Anyway, place the file you have just created, presumably untitled.wav, into a folder.
- Windows: C:\folder
- Linux: ~/folder
Then open up a terminal:
- Windows: Right click on start button and select Terminal
- Linux: You know.
In terminal enter the following to navigate to the folder wherein you have placed untitled.wav:
- Windows: cd C:\folder\
- Linux: cd ~/folder/
Then execute the ffmpeg command:
ffmpeg -i untitled.wav -ar 8000 -ac 1 -acodec pcm_s16le output.wav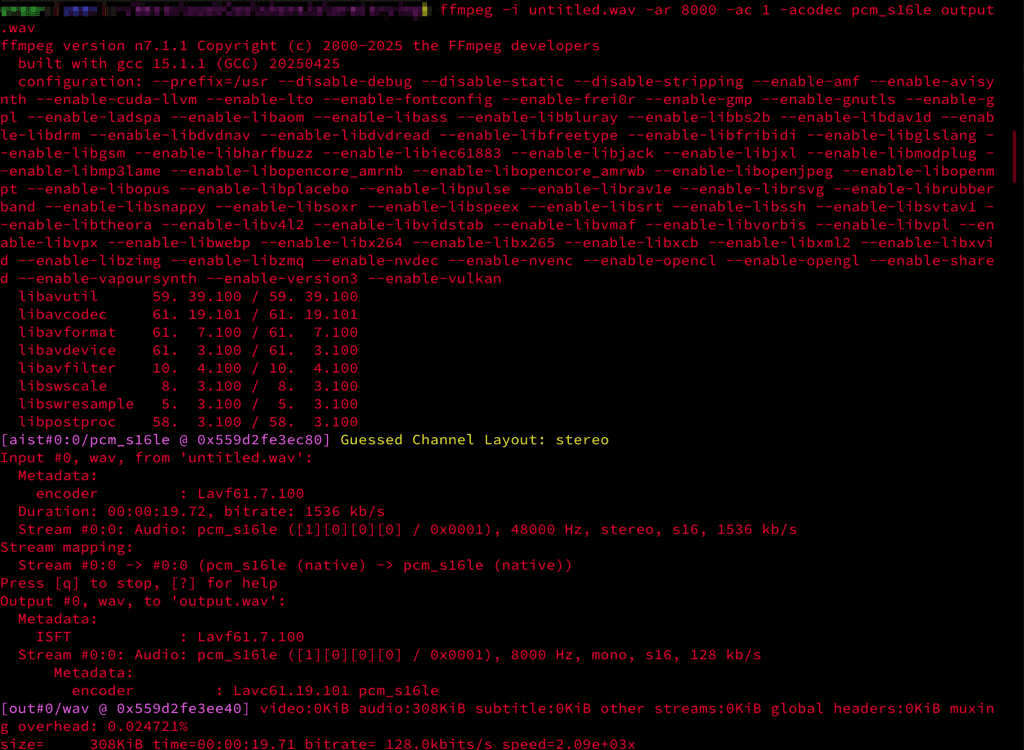
Now upload the generated output.wav to the intended camera using a web browser:
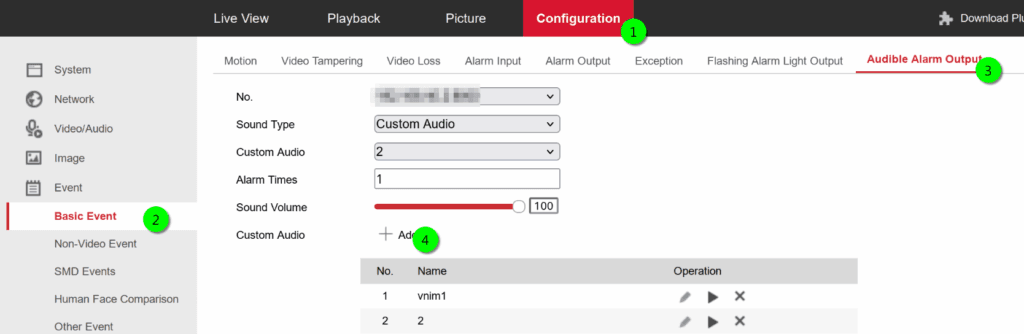
After uploading, select the file under Custom Audio dropdown and press Save at the bottom. You can test operation by pressing the play button under the operation column.
Hope this has helped, if you’ve found an error in my instructions please leave a comment so I can update the article.
 How to Slash Your Internet Bill: A Homeowner’s Guide
Leave a Reply